Video Call Component
0. SDK Mobile baseline requirements
SDK Mobile is a set of libraries (Components) that offer a series of functionalities and services, allowing their integration into a Mobile application in a simple and fully scalable way. Depending on the use case that is required, certain components must be installed. Its high level of modularity allows other new components to be added in the future without affecting those already integrated in the project.
For more information on the base configuration, go to the Getting Started section.
1. Introduction
The component discussed in the current document is called VideoCall Component. It is in charge of managing the communication between a user and an agent remotely, through a communication channel. It is mainly oriented to video assistance use cases.
1.1 Minimum requirements
The minimum iOS SDK version required is the following:
Minimum iOS version: 13
2. Integration of the component
⚠️ Before integrating this component, it is recommended to read the documentation related to Initial Integration and follow its instructions.
This section will explain step by step how to integrate the current component into an existing project.
2.1. Dependencies required for integration
To avoid conflicts and compatibility problems, in case you want to install the component in a project containing an old version of the Facephi libraries (Widgets), these must be completely removed before installing the SDKMobile components.
Cocoapods
- Currently FacePhi libraries are distributed remotely through different dependency managers, in this case Cocoapods. The mandatory dependencies that must have been previously installed (by adding them in the Podfile file of the project) are:
pod 'FPHISDKMainComponent', '~> 2.6.0'
- To install the VideoCall component, the following entry must be included in the application Podfile:
pod 'FPHISDKVideoCallComponent', '~> 2.6.0'
-
Once the dependencies are installed, the different functionalities of the component can be used.
-
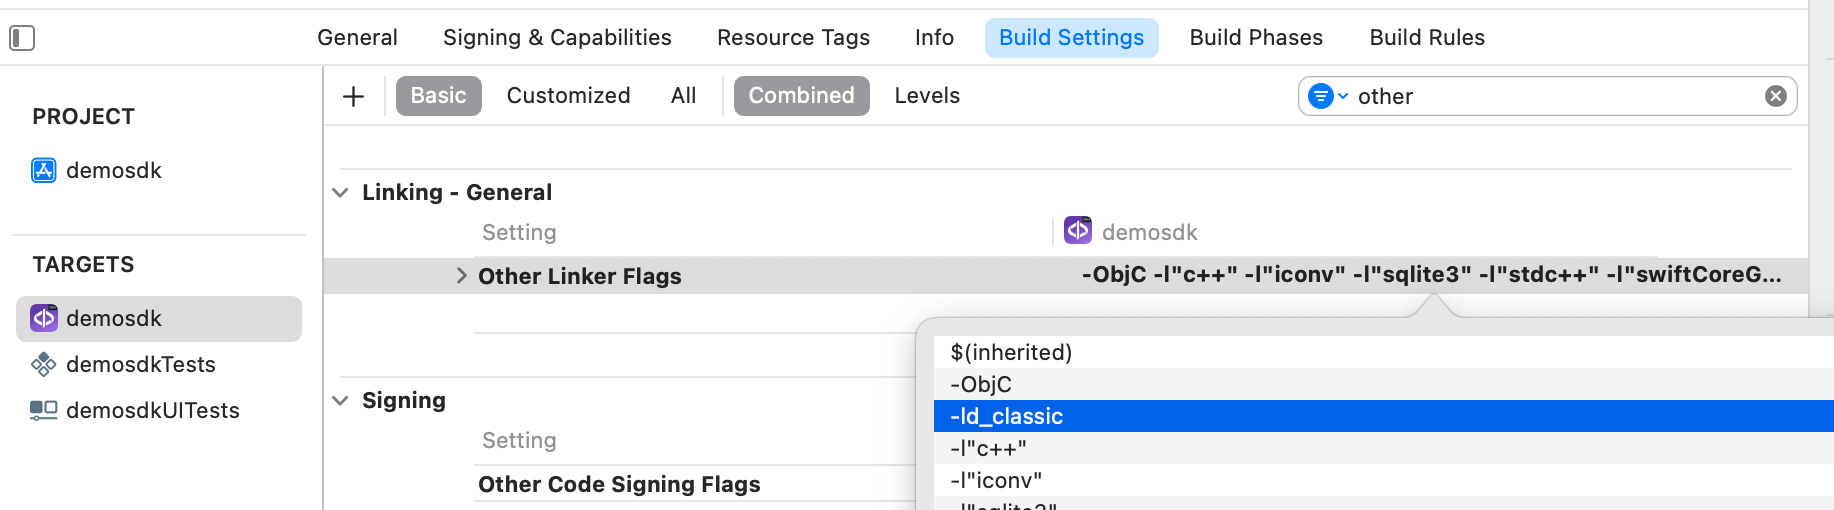
In case of development with XCode15 a post-installation script must be included:
2.2 Permissions and configurations
In the client application where the components are going to be integrated it is necessary to incorporate the following elements in the Info.plist file.
It is necessary to allow the use of the camera (Privacy - Camera Usage Description).
3. Start new operation
In order to generate the associated information correctly in the platform, the newOperation command must be executed first.
ℹ️ This command must have been executed before launch.
To learn more about how to start a new operation, it is recommended to consult the Start a new operation documentation, which details and explains what this process consists of.
4. Available controllers
| Controller | Description |
|---|---|
| VideoCallController | Videocall main controller |
5. Component configuration
To configure the current component, once it has been initialised, a VideoCallConfigurationData object must be created and passed as a parameter to the SDKController when the component is launched.
The following section will show the fields that are part of this class and what each of them is used for.
5.1. Class VideoCallConfigurationData
The fields included in the configuration, normally do not need to be be reported as they are filled internally through the license used. license used.
5.1.1. Basic Configuration
activateScreenSharing
Activate the screen sharing option in the call.
5.1.2. Advanced Settings
5.1.2.1. url
Path to video socket
5.1.2.2 apiKey
ApiKey needed for the connection to the video socket
5.1.2.3 tenantId
Tenant identifier referring to the current client, required for the connection to the video service.
5.1.3. Other parameters
vibrationEnabled
If set to true, vibration is enabled on errors and if the widget response is OK.
6. Use of the component
Once the component has been started and a new operation has been created (Section 3) the SDK components can be launched. There are two ways to launch the component:
- [WITH TRACKING] This call allows launching the functionality of the component normally, and the internal events will be tracked to the tracking server:
let controller = VoiceController(
    data: videocallConfigurationData,
    output: { sdkResult in
        // Do whatever with the result
        ...
    }, viewController: viewController)
SDKController.shared.launch(controller: controller)
- [WITHOUT TRACKING] This call allows launching the functionality of the component normally, but events will not be tracked to the tracking server:
let controller = VideoCallController(
    data: videocallConfigurationData,
    output: { sdkResult in
        // Do whatever with the result
        ...
    }, viewController: viewController)
SDKController.shared.launchMethod(controller: controller)
The launch method should be used by default. This method allows use tracking if its component is activated, and do not will be used when it is disabled (or the component is not found installed).
On the contrary, the launchMethod method covers a special case, in which the integrator has tracking installed and activated, but in a certain flow within the application you do not want to track information. In that case, this method is used to prevent that information from being sent. to the platform.
6.1 Example configuration
let videocallConfigurationData = VideoCallConfigurationData(
      vibrationEnabled: true,
      activateScreenSharing: true,
      timeout: 8000
    )
7. Receipt of the result
The controllers will return the required information in SdkResult format. More details in the Result Return section.
7.1. Error's management
On the error side, we will have the common enum ErrorType.
public enum ErrorType: Equatable, Error {
    //COMMON - BASIC
    case NO_ERROR
    case UNKNOWN_ERROR
    case OTHER(String)

    //COMMON - REQUIREMENTS
    case NO_DATA_ERROR
    case NO_OPERATION_CREATED_ERROR
    case NETWORK_CONNECTION

    //COMMON - PERMISSIONS
    case CAMERA_PERMISSION_DENIED
    case MIC_PERMISSION_DENIED
    case LOCATION_PERMISSION_DENIED
    case STORAGE_PERMISSION_DENIED

    //COMMON - USER'S INTERACTION
    case CANCEL_BY_USER
    case SDK_TIMEOUT

    //COMMON - LICENSE ERROR
    case LICENSE_CHECKER_ERROR(String)
    case MISSING_COMPONENT_LICENSE_DATA
    case COMPONENT_LICENSE_ERROR
    case EMPTY_LICENSE
}
7.2. Receiving successful execution - data
On successful execution, simply report that everything went well with the SdkResult.Success. with the SdkResult.Success.
When the result is Success and the sharingScreen flag is active, screen sharing can be enabled.
8. Component customization
Apart from the changes that can be made at SDK level (which are explained in the SDK Customization document), this particular component allows the modification of specific animations, images, fonts, colors and texts.
To customise the component, ThemeVideoCallManager.setup(theme: CustomThemeVideoCall() ) must be called before launching the videocallController:
let videocallController = VideoCallController(data: VideoCallConfigurationData(), output: { sdkResult in
        // Do whatever with the result
        ...
    }, viewController: viewController)
ThemeVideoCallManager.setup(theme: CustomThemeVideoCall())
SDKController.shared.launch(controller: videocallController)
An example of the CustomThemeVideoCall class would be this (must extend ThemeVideoCallProtocol):
class CustomThemeVideoCall: ThemeVideoCallProtocol {
    var images: [R.Image: UIImage?] = [R.Image.ic_sdk_close: UIImage(named: "closeIcon")!]

    var colors: [R.Color: UIColor?] = [R.Color.sdkPrimaryColor: UIColor.red]

    var animations: [R.Animation: String] = [:]

    var name: String {
        "custom"
    }

    var fonts: [R.Font: String] = [:]

    var dimensions: [R.Dimension: CGFloat] {
        [.fontBig: 8]
    }
}
8.1 Images
Images are initialised in the variable images, passing it a dictionary, the key being one of the enumerated ones representing the different images on the screen, and the value being the custom image to be displayed.
case ic_sdk_close
case ic_sdk_close_arrow
case ic_video_call_camera_off
case ic_video_call_camera_on
case ic_video_call_hangout
case ic_video_call_micro
case ic_video_call_mute
case ic_video_call_phone
case ic_video_call_recording
case ic_video_call_share
case ic_video_call_timeout
case ic_video_call_camera_toggle
8.2 Colors
Colors are similarly initialised in the colours variable with a dictionary, with the value being a UIColor of your choice.
// COMMON SDK Colors
case sdkPrimaryColor
case sdkBackgroundColor
case sdkSecondaryColor
case sdkBodyTextColor
case sdkTitleTextColor
case sdkSuccessColor
case sdkErrorColor
case sdkNeutralColor
case sdkAccentColor
case sdkTopIconsColor
// VideoCall Specific Colors
case sdkBackgroundDisabled
8.3 Fonts
Fonts are similarly initialized in the fonts variable with a dictionary, having as value a String with the name of the desired UIFont.
case regular
case bold
- The size of the texts is similarly initialized in the dimensions variable with a dictionary, having as value a CGFloat with the desired size.
8.4 Animations
Animations are similarly initialized in the animations variable with a dictionary, having as value a String with the name of the desired JSON Lottie.
case video_call_anim_waiting
8.5 Customizing the time between screens
To modify the time spent on each recording screen, the value of the time parameter (in ms) of the VideoIDConfigurationData must be modified:
VideoIDConfigurationData(...,sectionTime: TIME IN MS,...)
The minimum supported is 5000ms.
8.5 Texts - Multi-Language
8.5.1 Default language settings
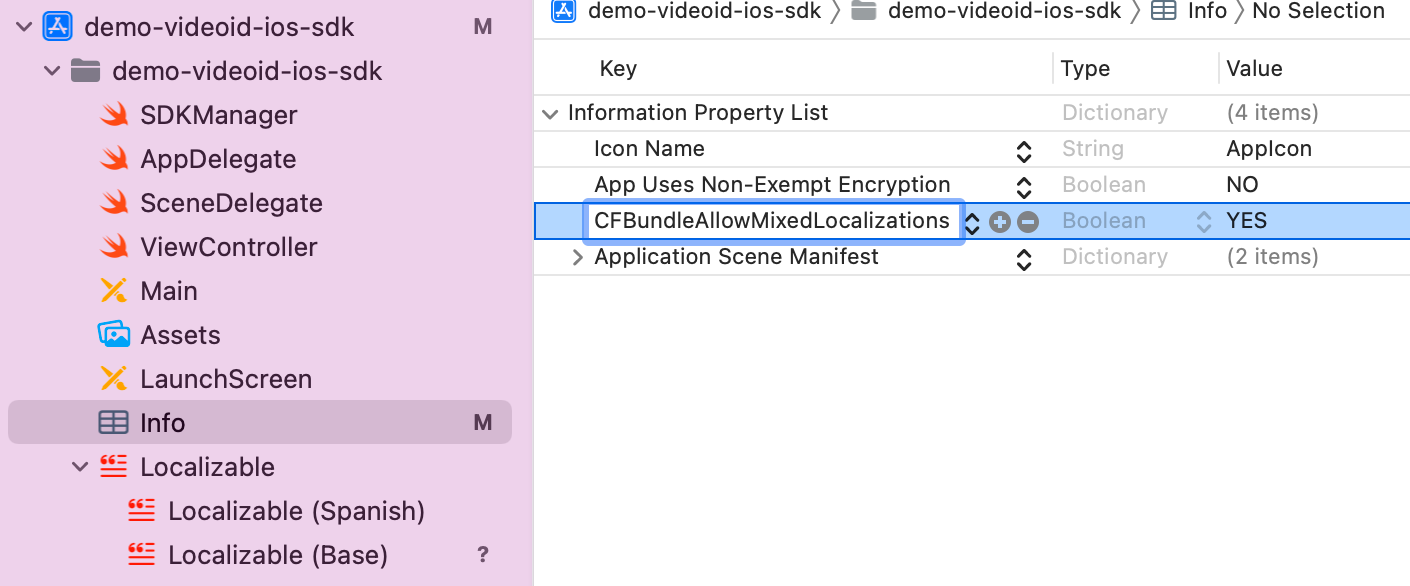
If the package is installed via SPM, for text localization to work, the following needs to be added to the Info.plist file of the integrator app:
CFBundleAllowMixedLocalizations = YES.
It would look like this:
-
English - Spain
-
Spanish - Spain
-
Portuguese - Portugal
The component's language can be configured with the locale parameter of the initSdk function. If not configured, by default, the SDK chooses the established lnaguage of the device.
-
If the language is any language whose root is Spanish (e.g. Spanish - Mexico), by default, it will use Spanish - Spain.
-
If the language is any language whose root is Portuguese (e.g. Portuguese - Brazil), by default, it will use Portuguese - Portugal.
-
For any other case, English will be used.
8.5.2 Customized Language Configuration
The component allows the customization of texts according to the language, which as in the previous case, will be defined by the language that is selected on the device.
This customization applies to new localizations as well as to the case of the default languages (es, en and pt-PT). It is done through the use of Localizable.strings. files.
8.5.3 Keys for multi-languages
The texts can be customized by overriding the value of these keys inside a Localizable.strings. The ones with an _alt suffix are the accesibility label's needed for the voice over functionality to work.
/* VideoAssistance view */
"video_call_component_exit_alert_question" = "Are you sure you want to end the call?";

/* Other */
"video_call_component_exit_alert_finish" = "Finalize";
"video_call_component_exit_alert_accept" = "Agree";
"video_call_component_exit_alert_cancel" = "Cancel";
"video_call_component_exit_alert_skip" = "SKIP";
"video_call_component_exit_alert_retry" = "RETRY";

"video_call_component_agent_label" = "Assistant";
"video_call_component_text_waiting_agent_title" = "Connecting with an assistant…";
"video_call_component_close_alt" = "Close";
"video_call_component_back_alt" = "Back";
"video_call_component_timeout_title" = "Timeout exceeded";
"video_call_component_timeout_desc" = "An assistant could not be contacted.";
Thus, if you want to modify for example the text "Finalize" of the key video_call_component_exit_alert_finish for the language en-EN, you must go to the file Localizable.strings in the folder en-EN.lproj if it exists (if not, you must create it) and there, add:
"video_call_component_exit_alert_finish"="Finish";.
If a message is not specified in the language file, it will be filled with the default message.